10. Lab Solution: Document Your Dog API
Solution: Document Your Dog API
Below, we'll walk through each step of the lab and look at one potential way to implement the lab. Even if you get stuck, you should always first try to work through the lab without the solution before coming here, so that you can best learn the related skills and be ready for the project at the end of the course.
Step 1: Add the necessary dependencies for Swagger.
First, I have started by copying over my code from the Dog REST API (I've excluded the security piece from earlier for simplicity). From there, I just need to add two dependencies:
        <dependency>
            <groupId>io.springfox</groupId>
            <artifactId>springfox-swagger-ui</artifactId>
            <version>2.9.2</version>
        </dependency>

        <dependency>
            <groupId>io.springfox</groupId>
            <artifactId>springfox-swagger2</artifactId>
            <version>2.9.2</version>
            <scope>compile</scope>
        </dependency>
Step 2: Configure Swagger using a Docket Bean.
Now, I'll add a config package to my API and add a SwaggerConfig class within it. This file can be pretty much the same as the Case Study, although I'll alter it so the API Info matches the Dog API. I have not added any custom error messages here, although they can always be useful in your own implementations!
package com.udacity.DogRestApi.config;

import org.springframework.context.annotation.Bean;
import org.springframework.context.annotation.Configuration;
import springfox.documentation.builders.PathSelectors;
import springfox.documentation.builders.RequestHandlerSelectors;
import springfox.documentation.service.ApiInfo;
import springfox.documentation.service.Contact;
import springfox.documentation.spi.DocumentationType;
import springfox.documentation.spring.web.plugins.Docket;
import springfox.documentation.swagger2.annotations.EnableSwagger2;
import java.util.Collections;

@Configuration
@EnableSwagger2
public class SwaggerConfig {
    @Bean
    public Docket api() {
        return new Docket(DocumentationType.SWAGGER_2)
                .select()
                .apis(RequestHandlerSelectors.any())
                .paths(PathSelectors.any())
                .build()
                .apiInfo(apiInfo());
    }

    private ApiInfo apiInfo() {
        return new ApiInfo(
                "Dog REST API",
                "This API returns a list of dogs.",
                "1.0",
                "http://www.udacity.com/tos",
                new Contact("Udacious Student", "www.udacity.com", "myeaddress@udacity.com"),
                "License of API", "http://www.udacity.com/license", Collections.emptyList());
    }

}
Step 3: Utilize Swagger UI to review and test your API.
Now, you should be able to head to http://localhost:8080/swagger-ui.html#/ and test out your API.
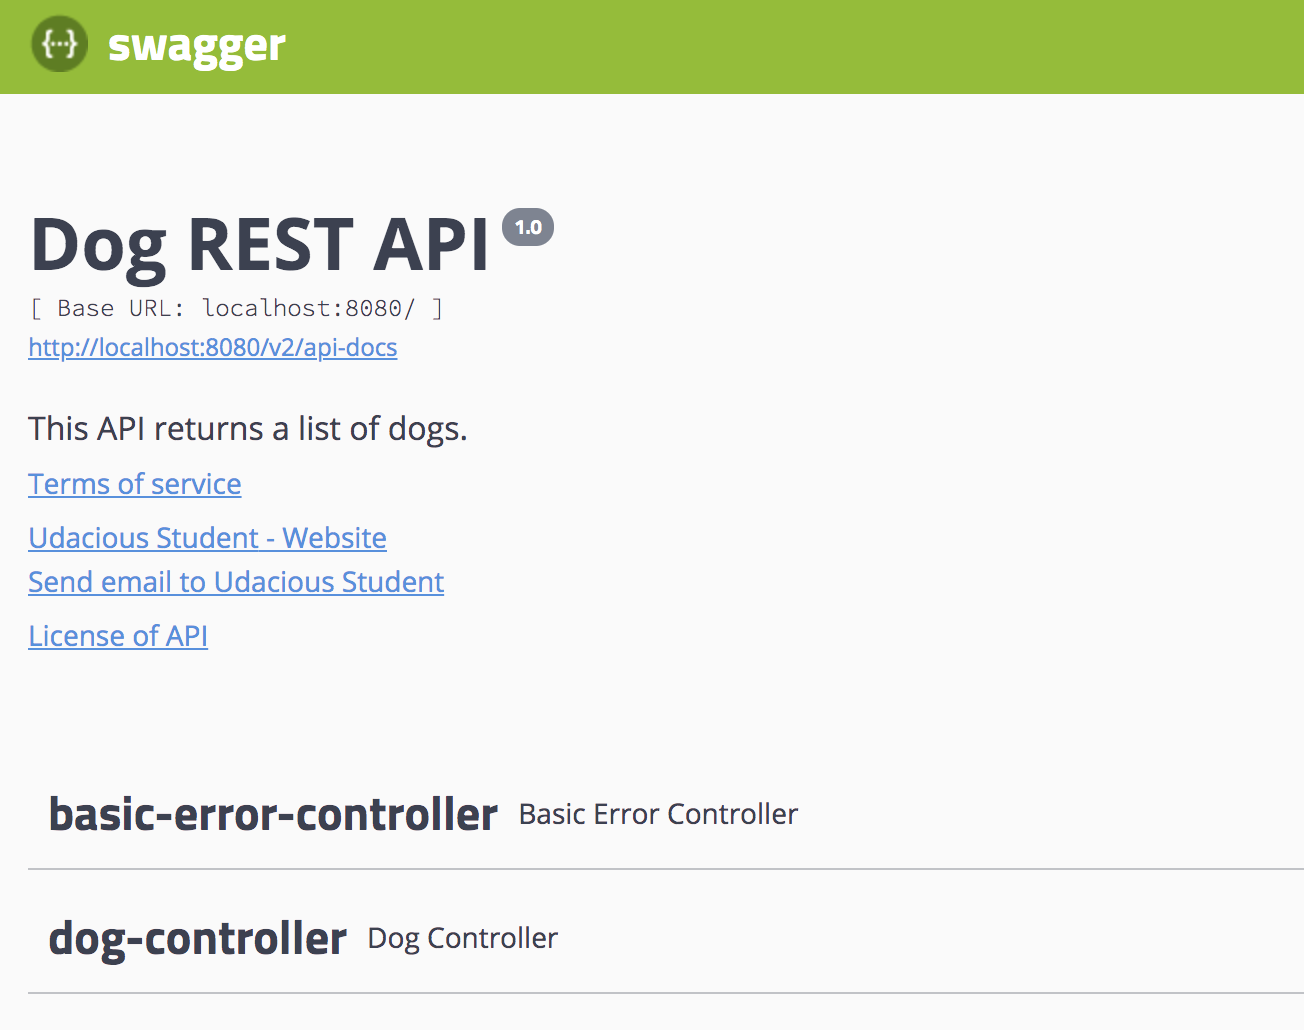
An example of the Dog REST API Swagger documentation page
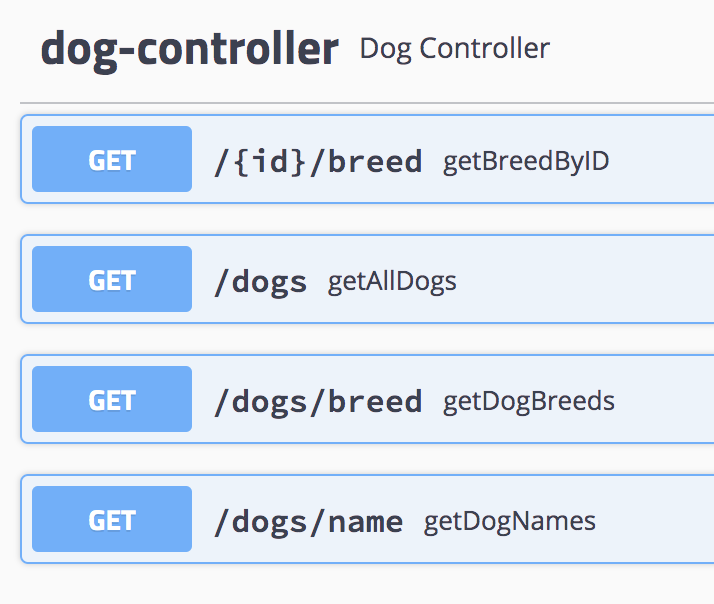
Swagger has documented the available GET requests for us
If you click on one of the available commands for your API, you should be able to Try it out and test that it works correctly. Depending on which you test, you may need to provide information (such as the id for getBreedByID), or be able to immediately Execute the query.
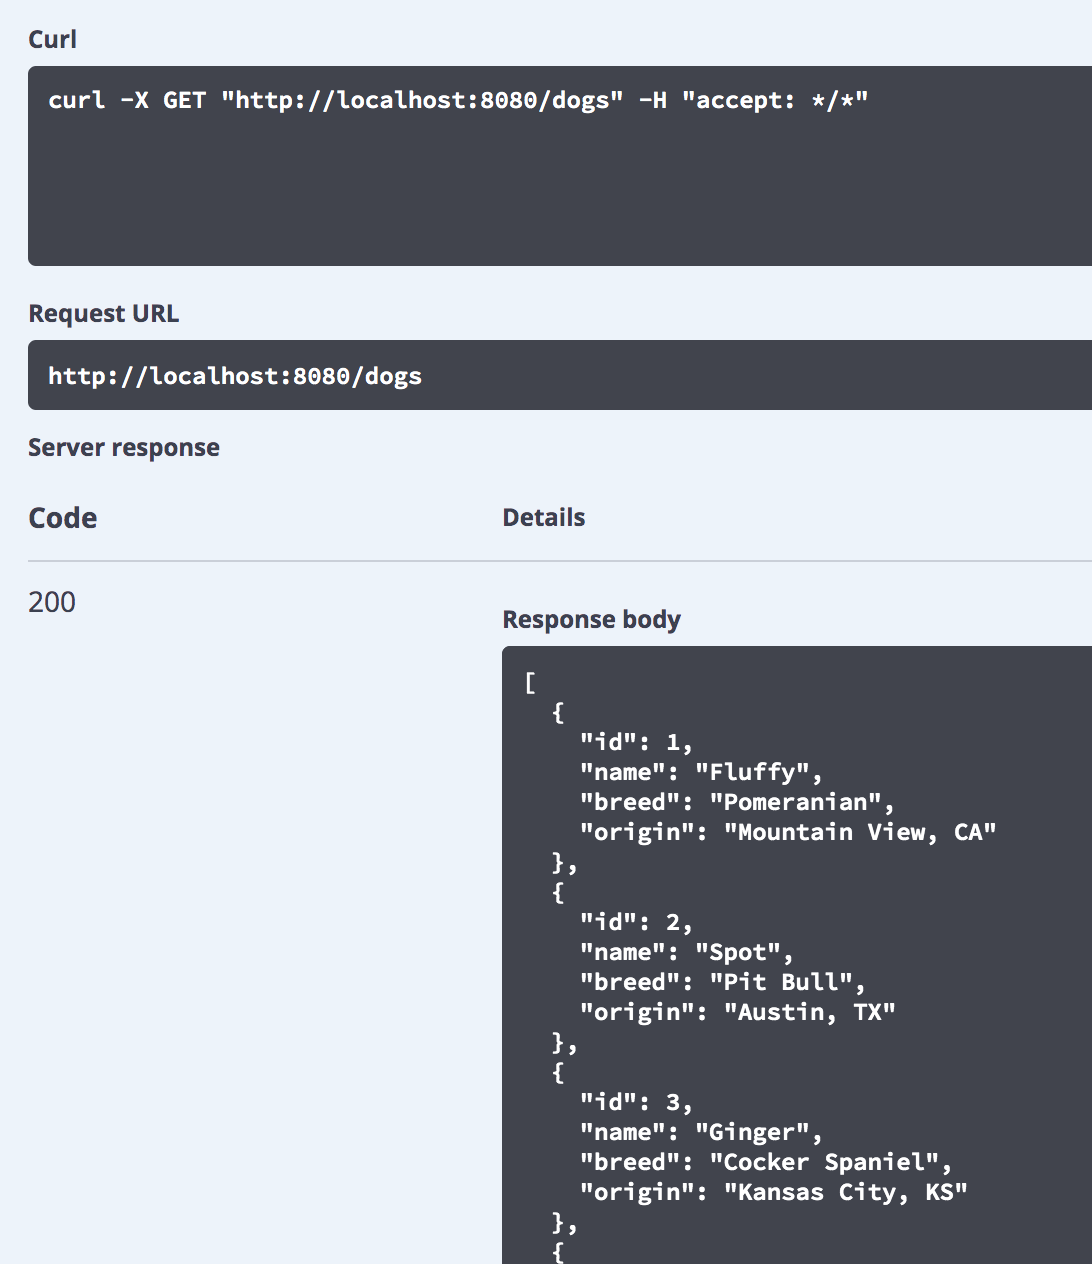
An example from an execution of getAllDogs in Swagger
As you can see, automatically documenting your API with Swagger requires only a few lines of code, yet provides some incredibly useful functionality.
Full Solution
If you'd like the full solution code all in one place, you can download it through the link below.